Price match guarantee - find a better deal? We'll Beat it!
.JPG)
Get your phone fixed without leaving your doorstep
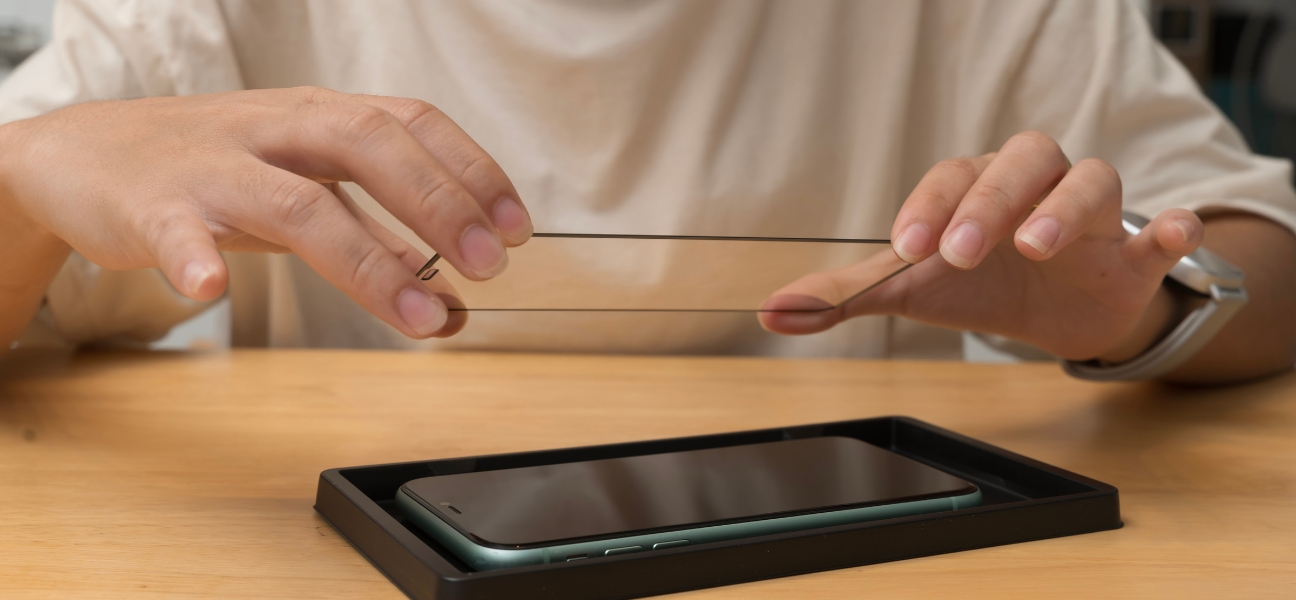
Screen protectors do a great job of keeping your phone safe from scratches and cracks—but removing them can be tricky if you don’t know the right technique. Whether it’s bubbling, cracked, or you’re just ready for a new one, doing it the wrong way can damage your screen. At Pull Up® Phone Repair, we handle delicate repairs and screen replacements daily, so we know exactly how to take them off safely. Here’s a step-by-step guide for removing your screen protector the right way—and if your screen is already cracked, you can count on us for fast, on-site iPhone repair in New York.
Taking off a screen protector might seem simple, but doing it incorrectly could cause scratches or damage. Follow these steps to safely remove it without harming your device.
Before starting, power down your phone or tablet. This reduces the risk of accidental touches or static electricity while you’re working near the screen.
Use your fingernail or a thin plastic card (like a credit card) to gently lift one corner of the screen protector. Avoid metal tools—they can scratch the glass. If one corner doesn’t lift easily, try another.
Once a corner is lifted, slide your card underneath the protector. Gently move it side to side to separate the adhesive from the screen. Keep the motion slow and steady to avoid cracking the protector or putting pressure on the screen.
When most of the protector is loosened, gently lift it away from the screen. Avoid bending it too much, especially if it’s glass—it can snap.
Pro Tip: If your screen protector is glass, wear gloves just in case it breaks while removing it.
What to Do If the Screen Protector Is Stuck
If your screen protector feels glued on tight, it’s probably due to a strong adhesive. Don’t force it—try one of these methods instead.
If it still won’t budge, move to the next option.
Important: Avoid holding heat in one place too long—it can overheat your phone.
Once the screen protector is off, your phone’s display will likely have leftover residue or smudges.
To clean it safely:
A clean, streak-free surface helps your new screen protector adhere evenly.
If your old screen protector cracked during removal or your phone’s screen is already damaged underneath, don’t risk making it worse. At Pull Up® Phone Repair, our technicians come directly to you anywhere in Queens or New York for same-day repairs. Whether you need a screen replacement, glass repair, or new screen protector installation, we’ll handle it quickly and professionally.
Removing a screen protector is simple when done carefully—but if your phone’s screen doesn’t look right afterward, let the experts handle it. The team at Pull Up® Phone Repair offers on-site mobile phone repair in Queens, bringing professional service straight to your door. Book your appointment today and let us restore your screen to perfection.